Friday, October 1, 2010
Wednesday, September 29, 2010
CHOCOLATE ROLLS
This chocolate roll is a favorite among my kids since it is filled with chocolate. One can easily buy this gorgeous bread from your neighbourhood bakery but nothing compared to the satisfaction you get after your family tasted the bread you've baked. Another benefit of baking your own is that you could customize to your taste, you decide what to add and or omit.
Actually baking bread isn't that tough but the only disadvantage is time consuming. If you plan well, like mixing the dough at night, shape and leave to rise in a refrigerator then bake them the next day so your family could enjoy this fresh from the oven. It is also great for serving unexpected guest.
At the time of shaping, sprinkle generous amount of butter, sugar and chocolate chip after you rolled up into rectangle, this will make the rolls look better and tastier.
CHOCOLATE ROLLS
3 cups plain flour
2 tsp active dry yeast
4 T sugar
5 T melted butter
1/2 C warm water
1/2 C plus 4 T warm milk
1 tsp salt
FILLING
4 T butter
6 T chocolate chip
3 T brown sugar
METHOD
* Combine yeast, warm water and 2 tablespoons sugar in a small bowl. Leave for 15 minutes or until frothy.
* In a mixing bowl, place flour, sugar, butter, salt and yeast mixture. Gradually add warm milk and forms into pliable dough. Knead by hand 10 minutes or use your stand mixture.
* Let rise for 2 hours in a covered and greased bowl. Towards the end of raising time, preheat oven @ 180 C.
* Punch out the air from the dough. Roll out into rectangle 14 x 12 in on floured board.
* Spread butter leaving 1/2 inch around the corner, sprinkle with chocolate chip and sugar..
* Roll up, jelly roll style starting from the long side. Slice 1 in thick and place onto baking sheet which is lined with baking paper.
* Bake 15 minutes @ 180 C until golden brown.
* Cool on wire rack.
Linking to Yeastspotting 10-1-10
Monday, September 27, 2010
FISH CUTLET

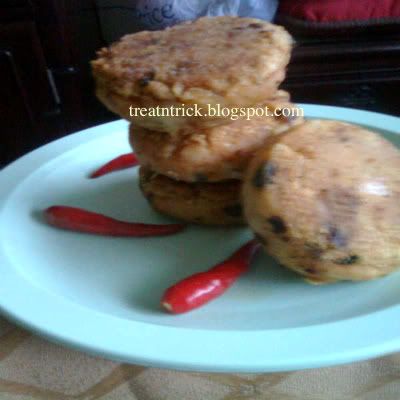
For ages we didn't had this Fish Cutlet, there are various ways to prepare this dish but mine differs from the usual method of frying the ingredients before shaping then re-fry again after dipping with egg and bread crumbs.
My preparation does not involve cooking before hand. What I did are mixing all the ingredients together, turn them into round shape then flatten. Before shallow frying, I coated the cutlet with rice flour and fried until golden color. It came out perfect, flavorful and yummy, great as an appetizer or side dish.
Saturday, September 25, 2010
MUNG BEAN JELLY
My kids really love to have cold dessert especially during hot spell now. You can really felt the intense heat outdoors. Lucky for those work in an air conditioned environment.
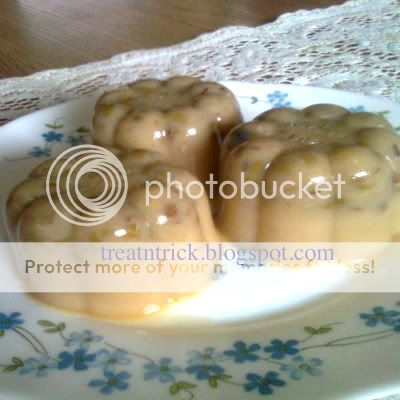
This Mung Bean Jelly is pretty simple to prepare. What needs to prepare is the green bean aka mung bean before hand. Just boil the cleaned mung bean with water and salt until it is really soft and almost dry. Either mash or blend the bean but I just mash them with a spoon.
Added evaporated milk but you can also use coconut milk for real tasty dessert. It tasted divine on hot summer days!
Thursday, September 23, 2010
PINEAPPLE TART

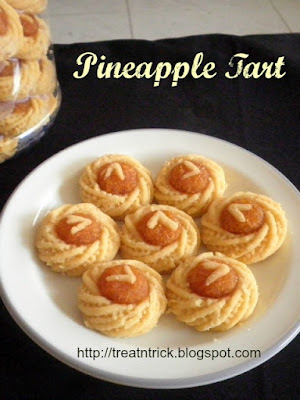
This melt in the mouth Pineapple Tart is a must during festive season in most South East Asian homes. It consists of two parts, the pastry and the filling. It is such a delight to bite into one, just can't stop eating them, so damn yummy.
Best to prepare the filling ahead before you start baking this tart. Most suitable to choose ripe pineapple that will produce better tasting filling came from the pineapple thus adding less sugar. The grated pineapple along with its juice is cooked until thick along with sugar using low heat and constant stirring if not it sticks to the bottom of the pan. Once cooked, leave to cool and refrigerate. This way the filling is quite easy to handle and easily shaped into small balls before stuffing into the pastry.
If the dough is too soft, you can add about 1 to 2 tablespoons of flour and refrigerate for 30 minutes in a covered bowl. Apart from using the fluted tart cutter, if you have time and patience, do pinch the sides of tart using tart pincer, look pretty but time consuming.
Subscribe to:
Comments (Atom)


